Southern Blondie: cooking

The Viking Cooking School in Greenwood, MS

10 comments


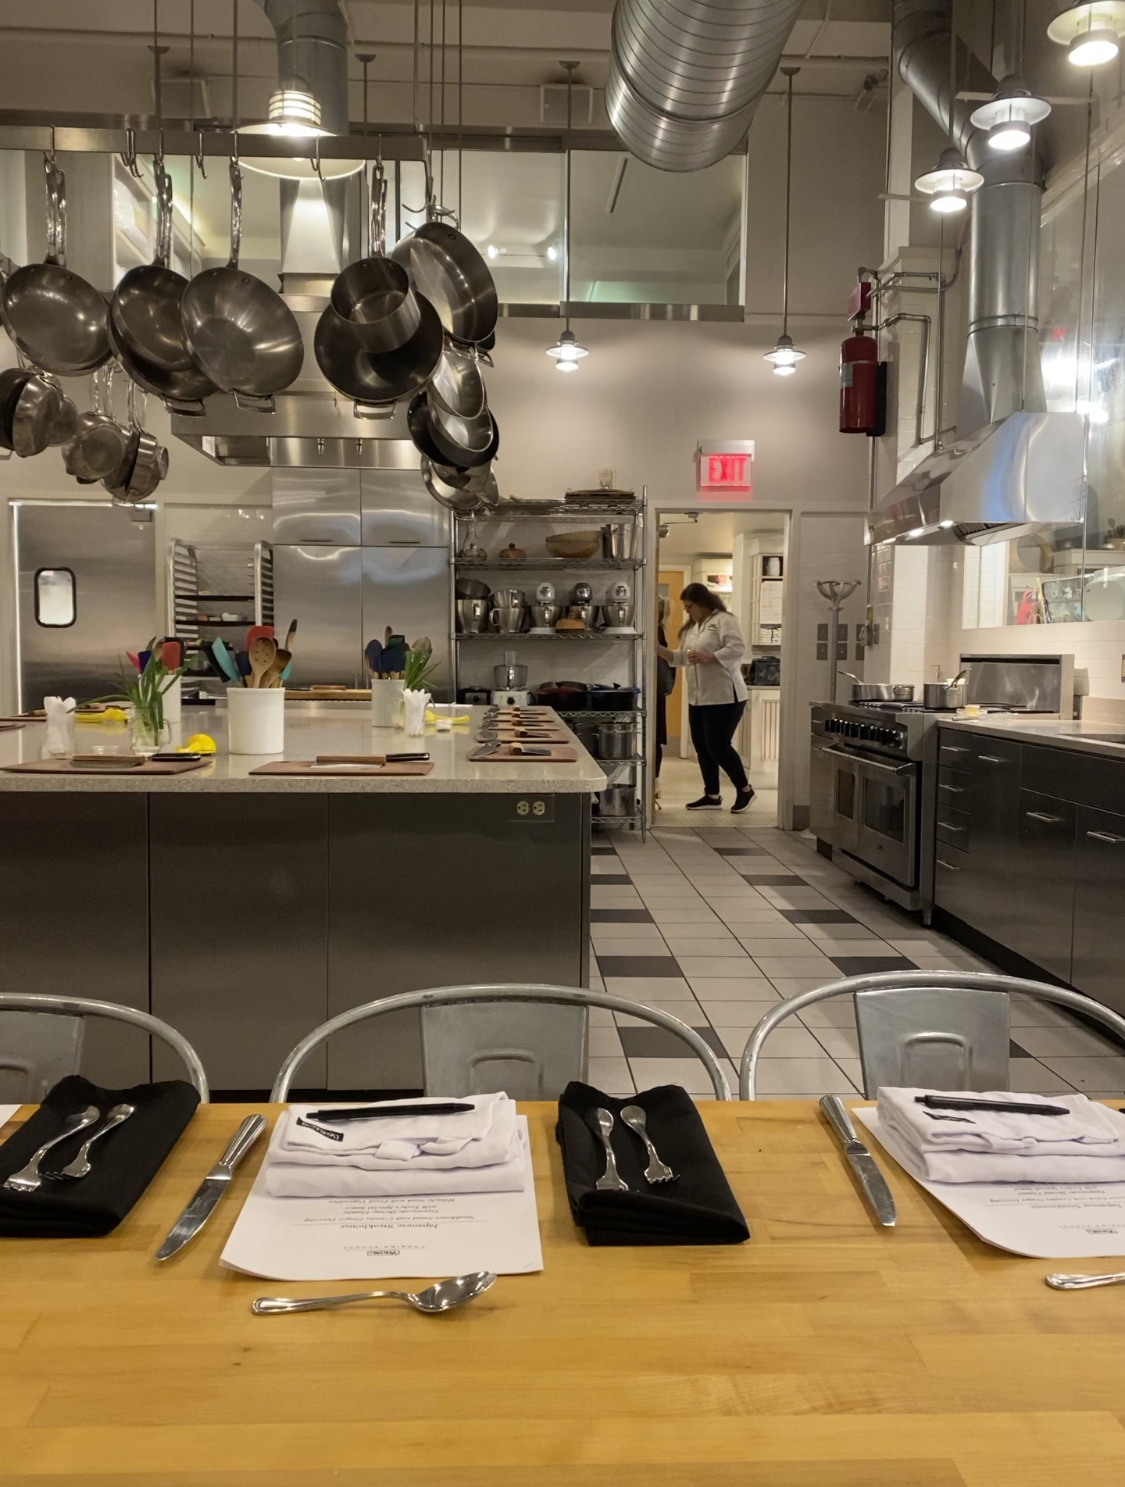
Welcome to the Viking Cooking School in Greenwood, MS!

The Viking Cooking School classes are meant for culinary enthusiasts. Meaning, that you do not have to be a professional or know anything, OR you can just really enjoy trying something new and fun. No matter where you are on your culinary journey, the cooking school will absolutely be a fun experience for all. 


In December 2019, I received a gift card from my (now) in-laws to visit the Viking Cooking School. In 2020, we had the pandemic, in 2021 we were planning a wedding, so we knew we had to take a class in 2022 before the baby arrives in July. 

We decided on the Japanese Steakhouse class (spoiler: it was a GREAT decision!). 


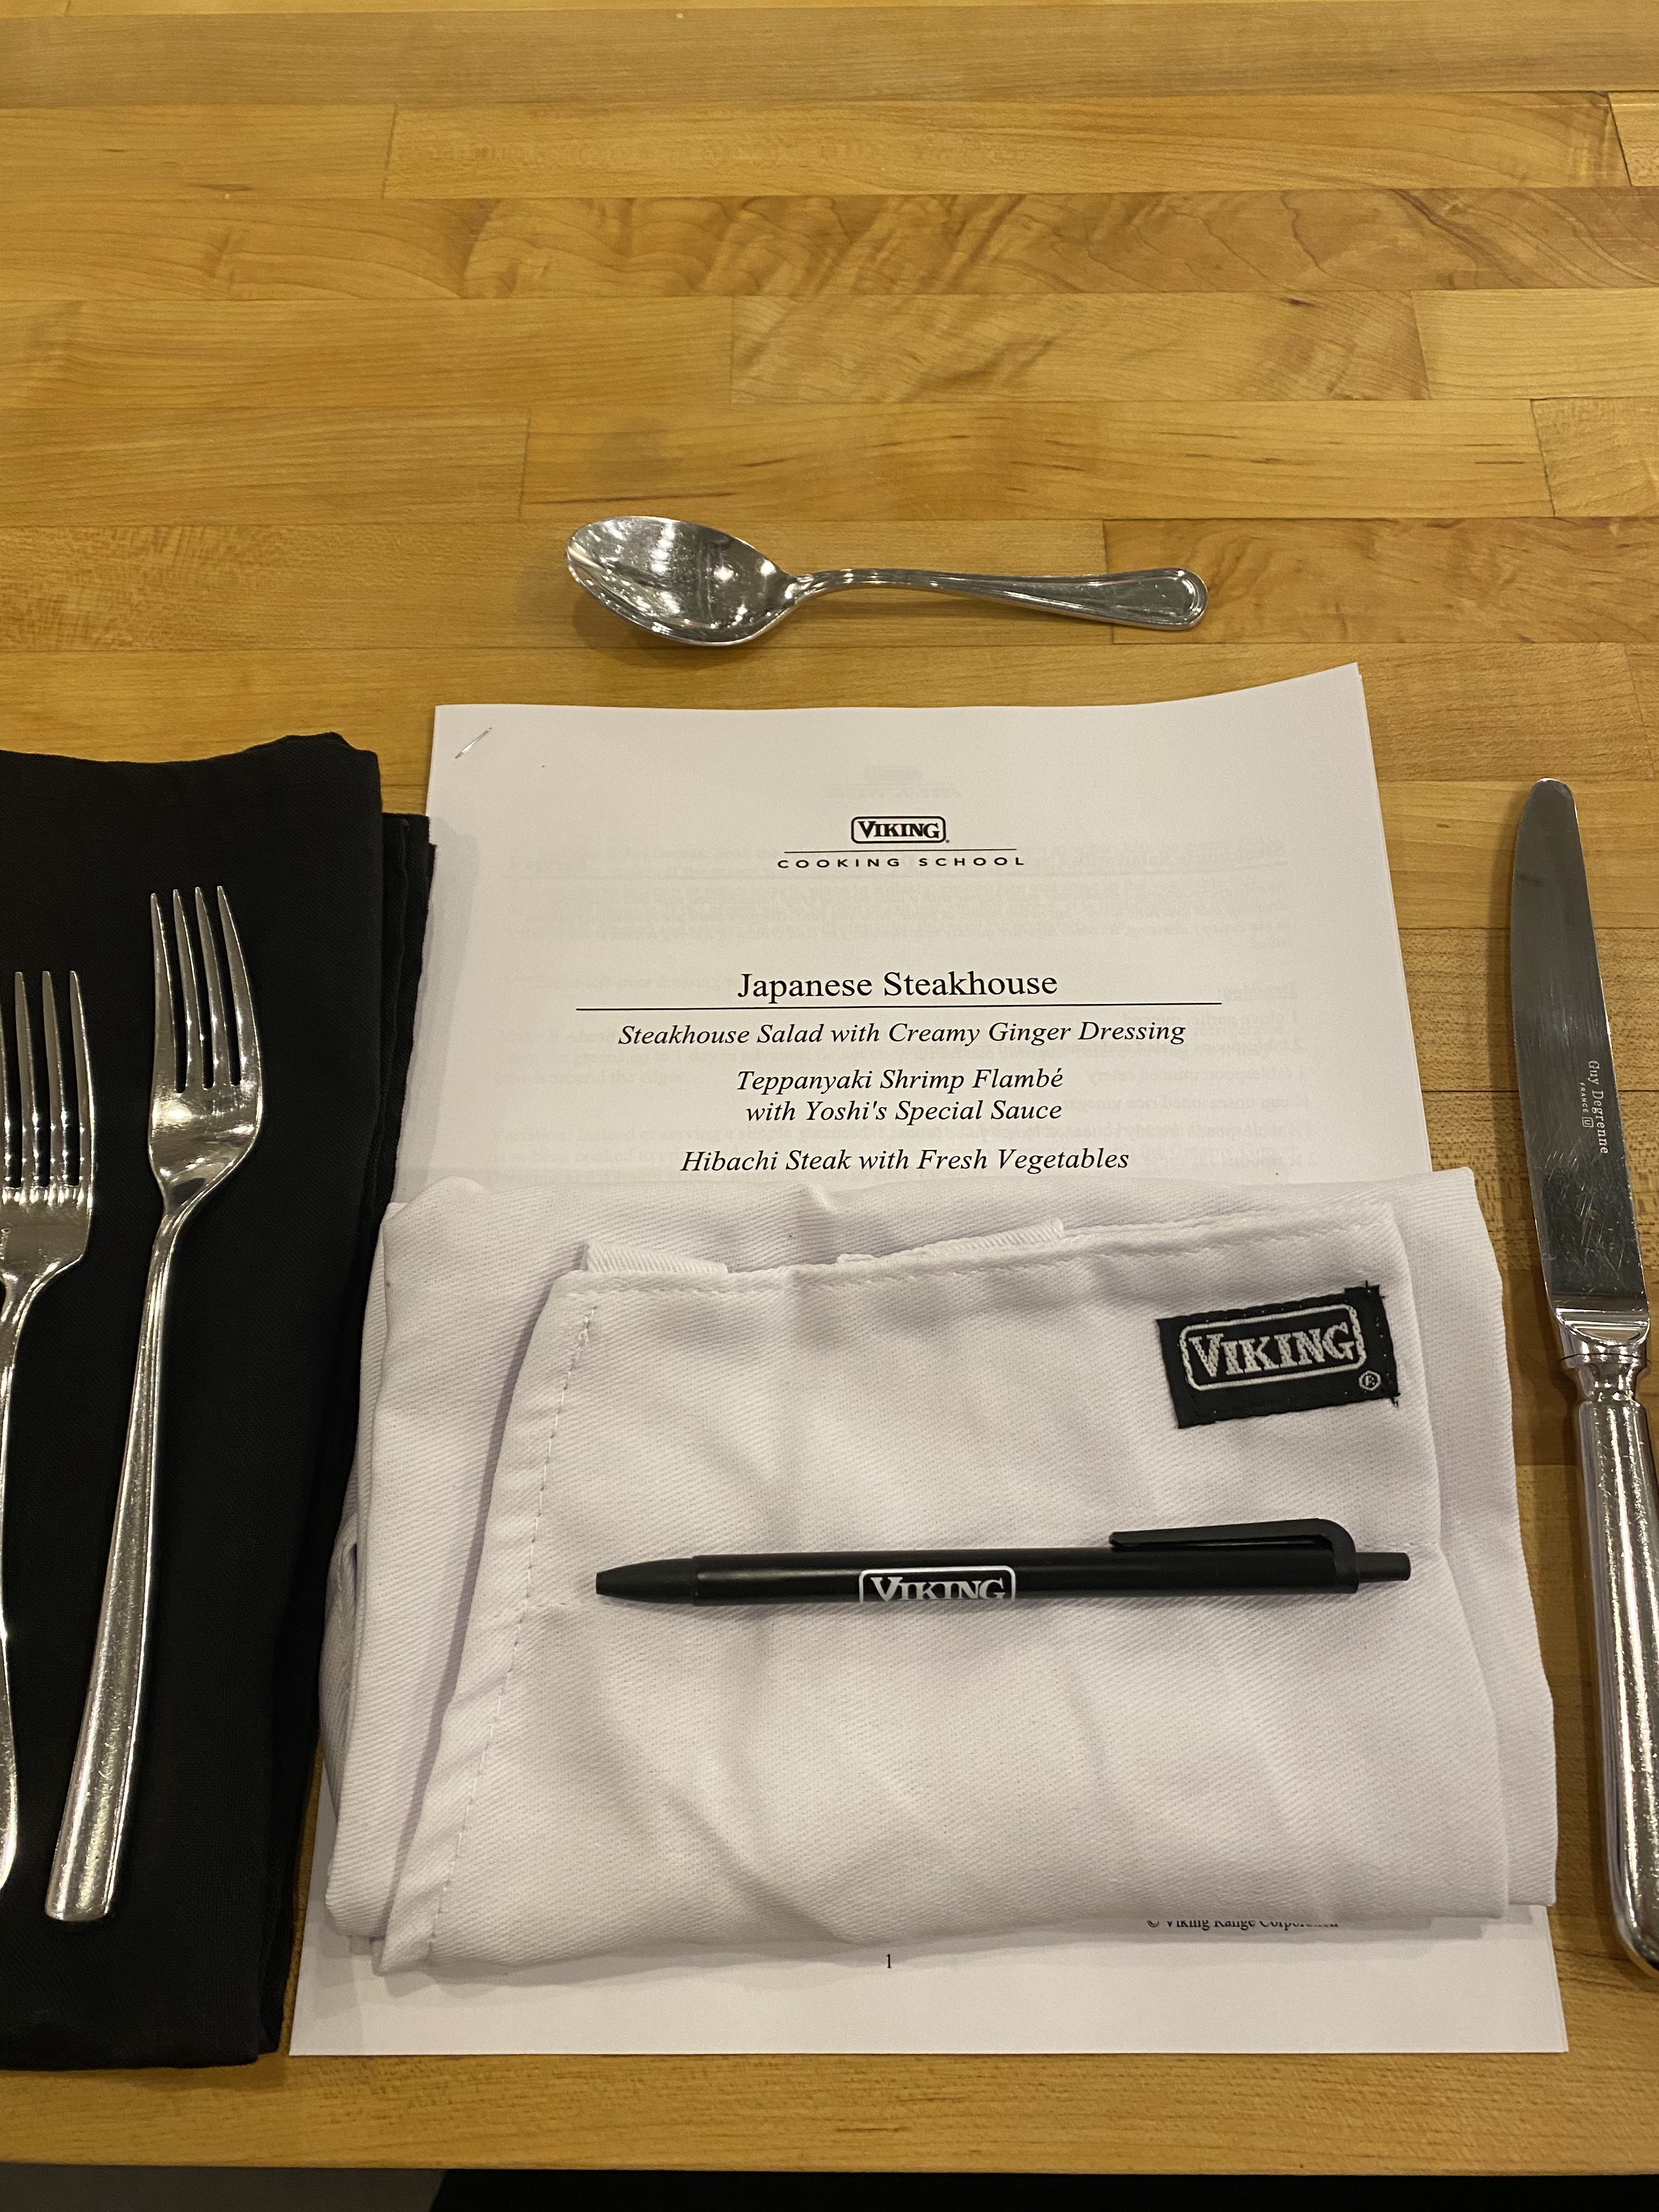
The menu for the Viking Cooking School Japanese Steakhouse class included: 

      • Steakhouse Salad with Creamy Ginger Dressing
      • Teppanyaki Shrimp Flambé with Yoshi's Special Sauce
      • Hibachi Steak with Fresh Vegetables and Mustard Sauce
      • Japanese Fried Rice
      • Sample Recipes:
      • Edamame
      • Tangerine Sorbet


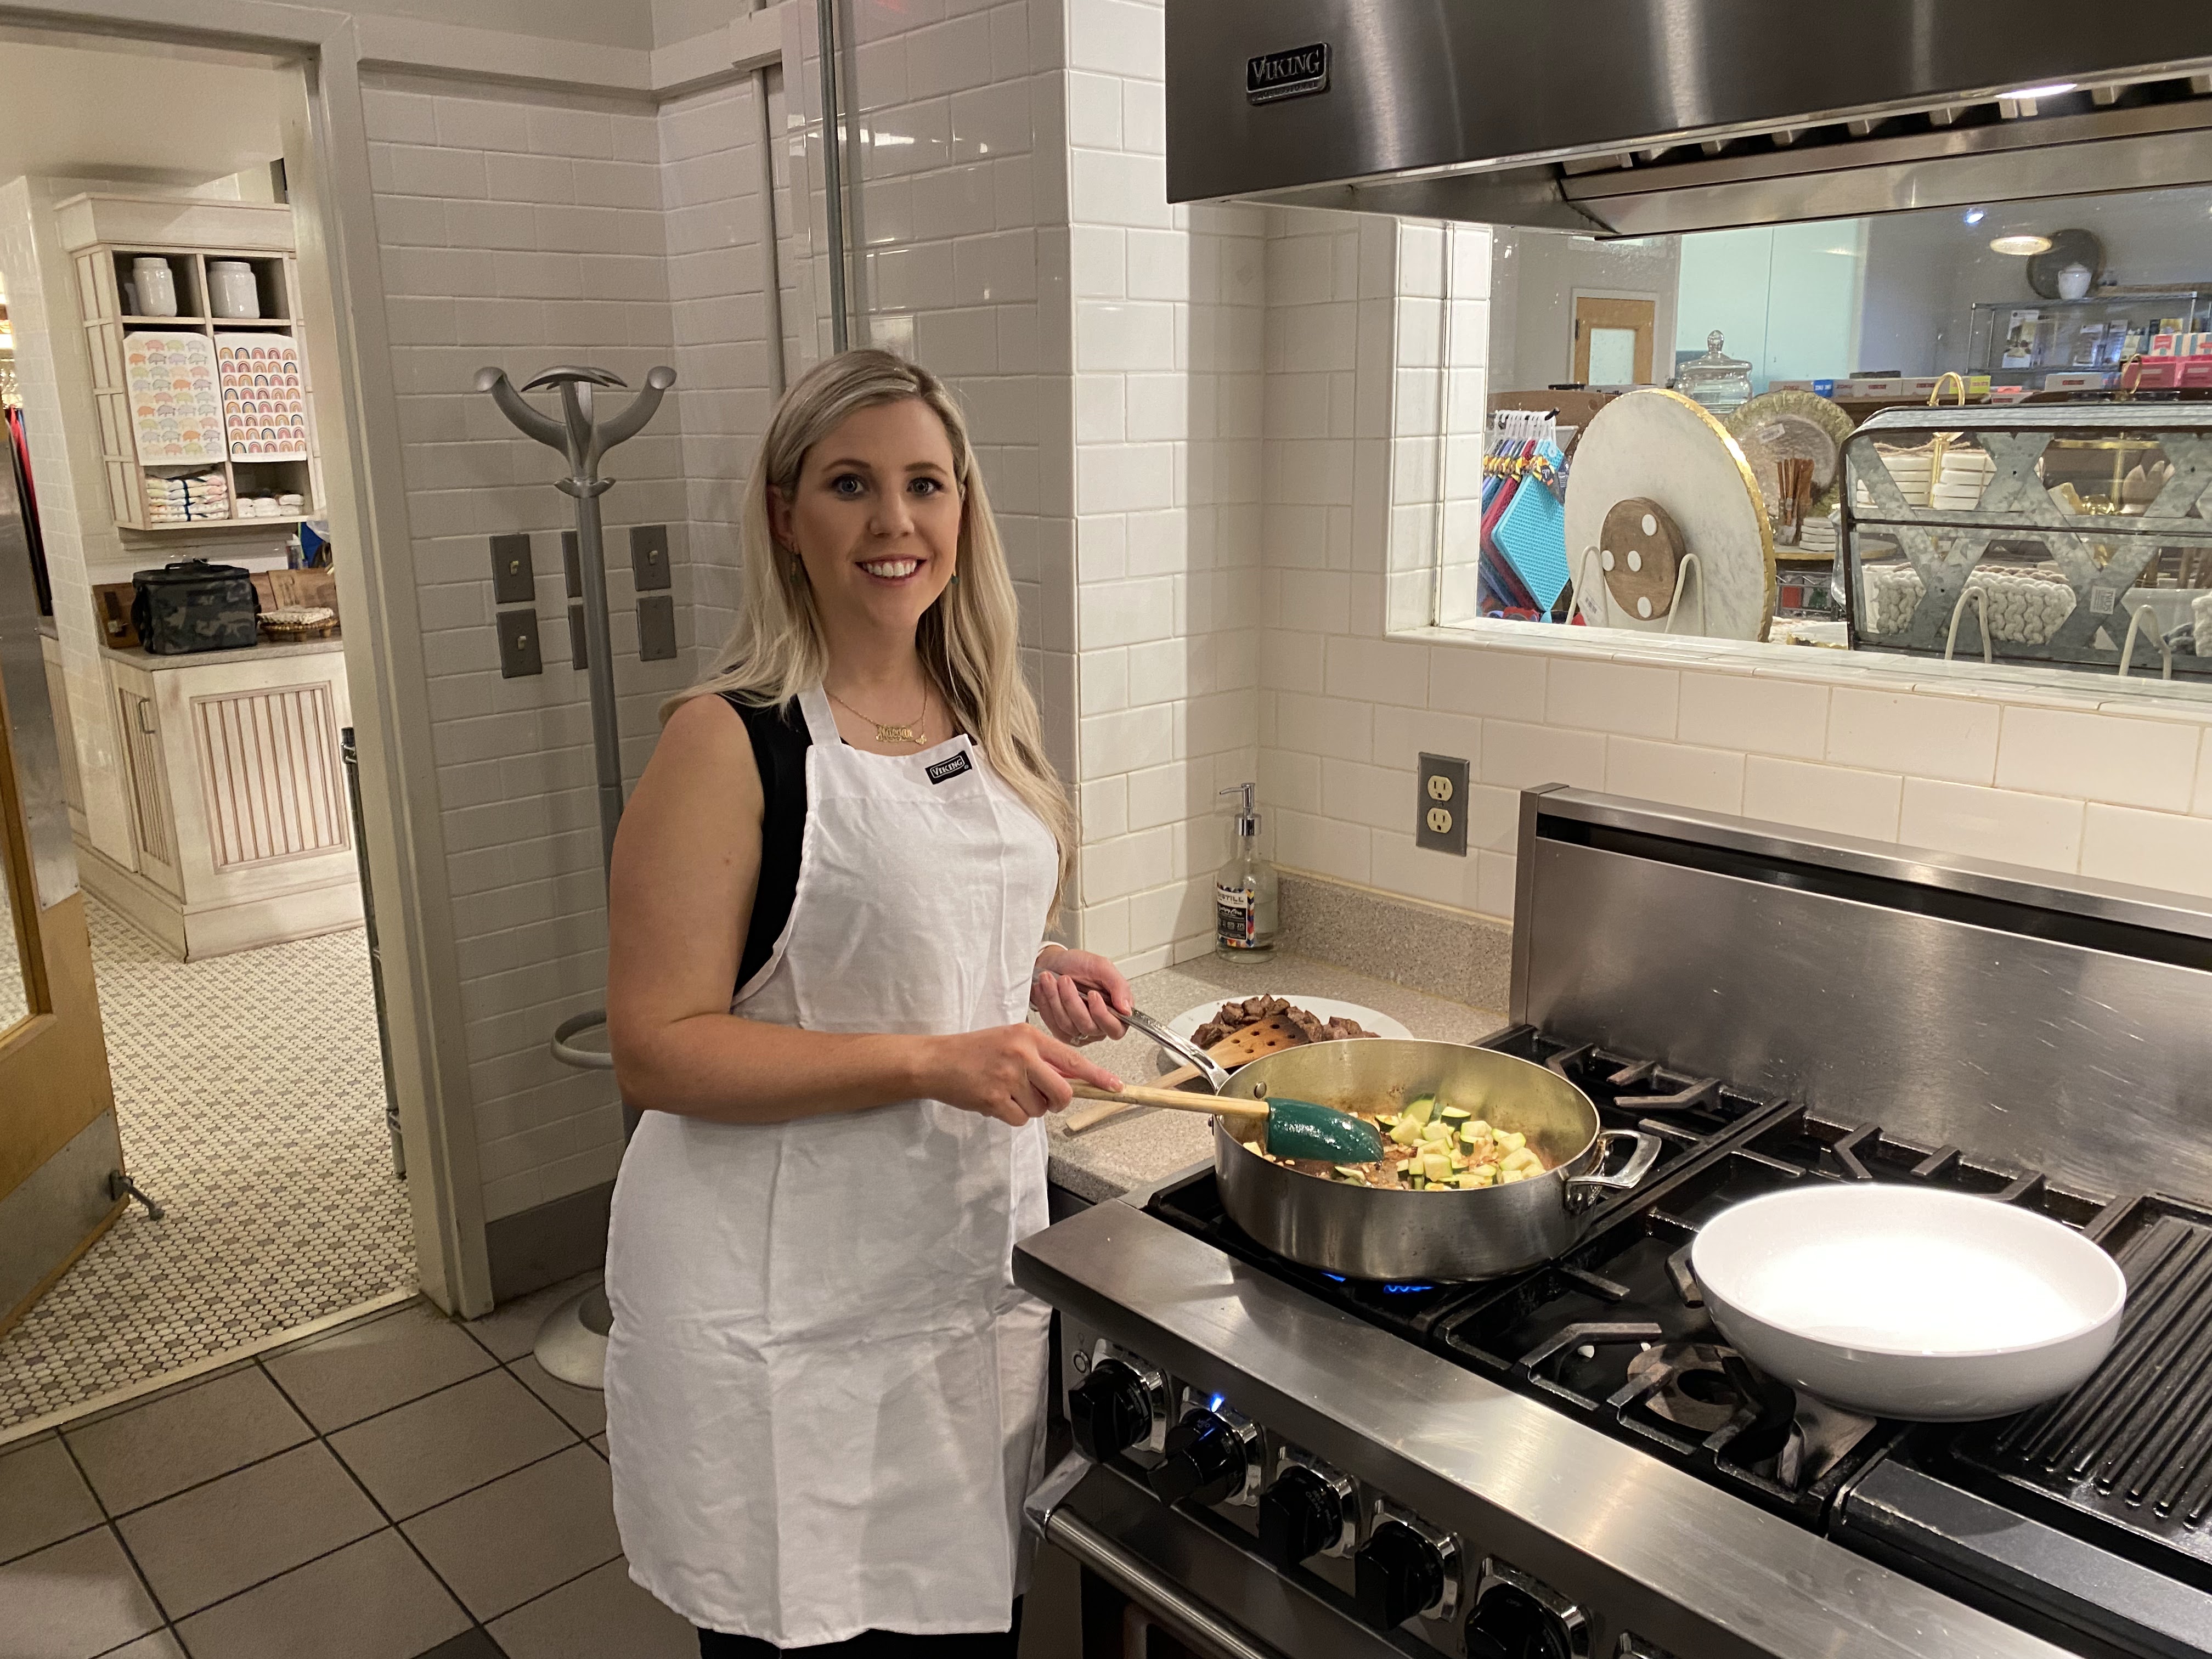
It's a very interactive class, everyone gets to dice, chop, slice, cook, sauté, whatever the recipe calls you to do. You are also paired up with another couple/couple of people to work on different parts of the dishes. 

I decided to take on the sautéing of squash and mushrooms. 


This class is fun for couples, but there was also a class where ladies were having a girl's night, and that would also be a blast. Basically, if you enjoy cooking and learning a new type of cuisine, or techniques, it's going to be a good time. 


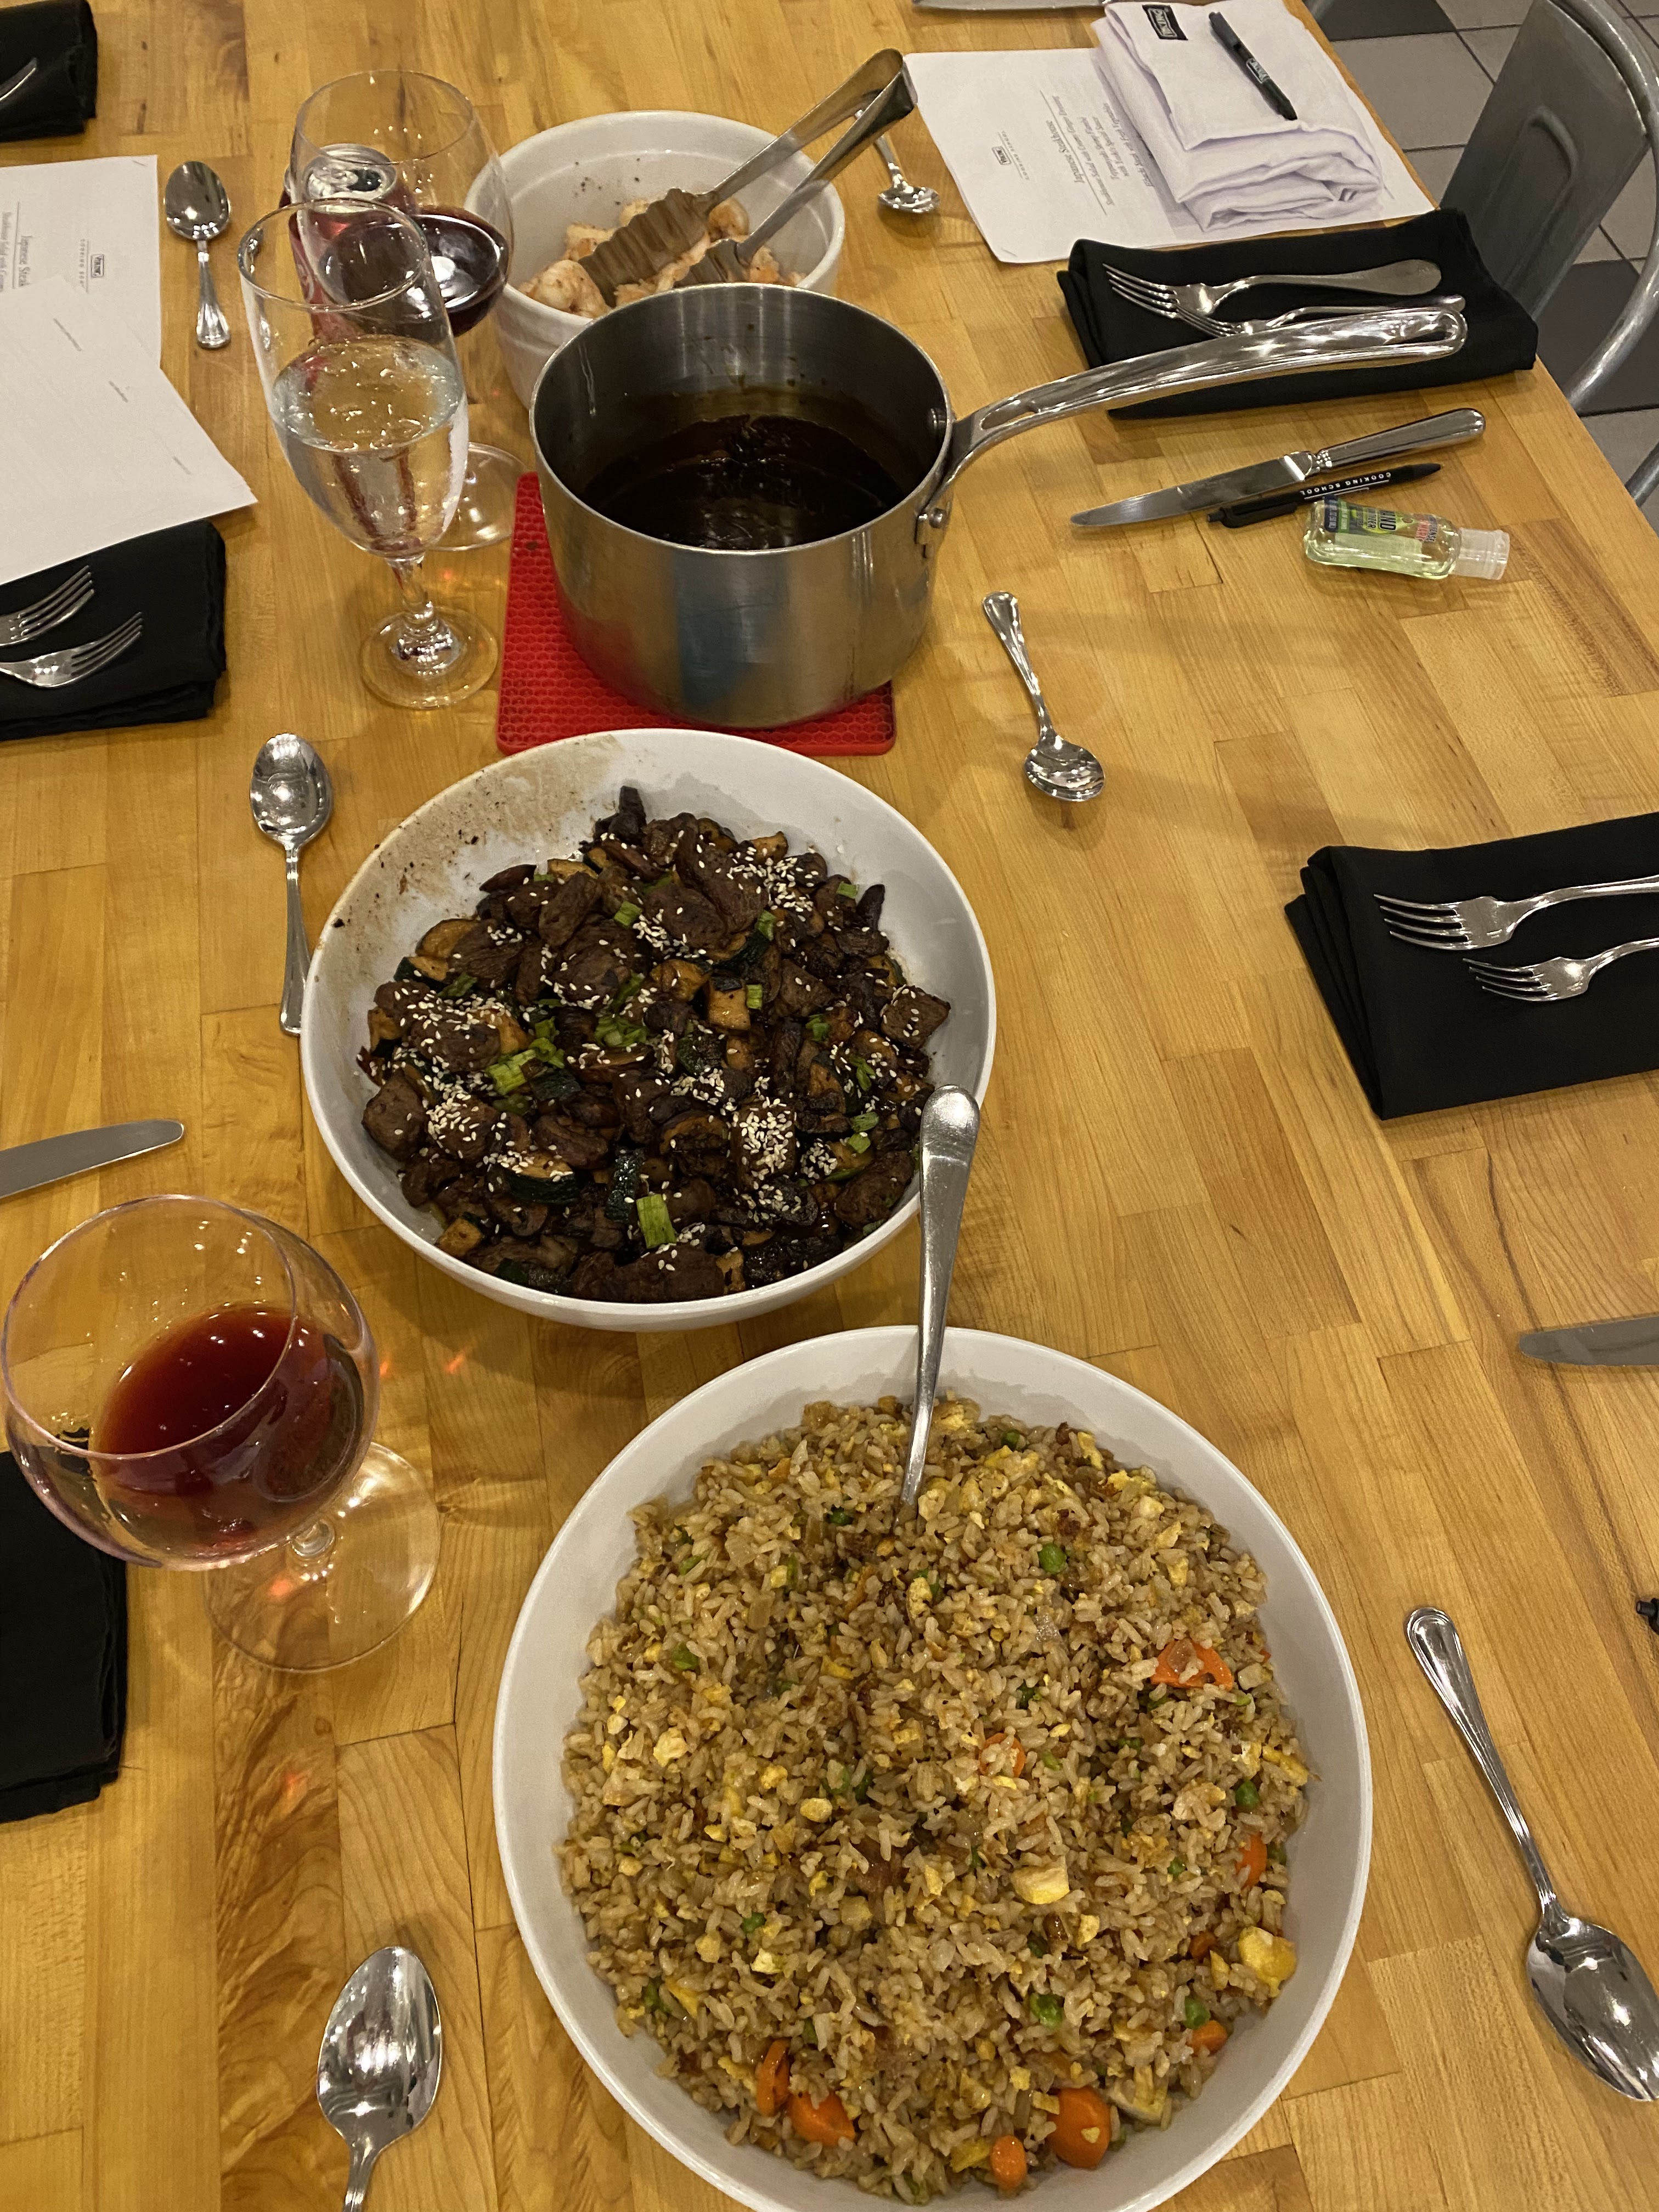
Once we were done, it was time to serve family-style You'll see our fried rice, our beef with mushrooms and some sauces. 


After all the cooking, you'll be hungry to eat, and there is plenty of food to share!


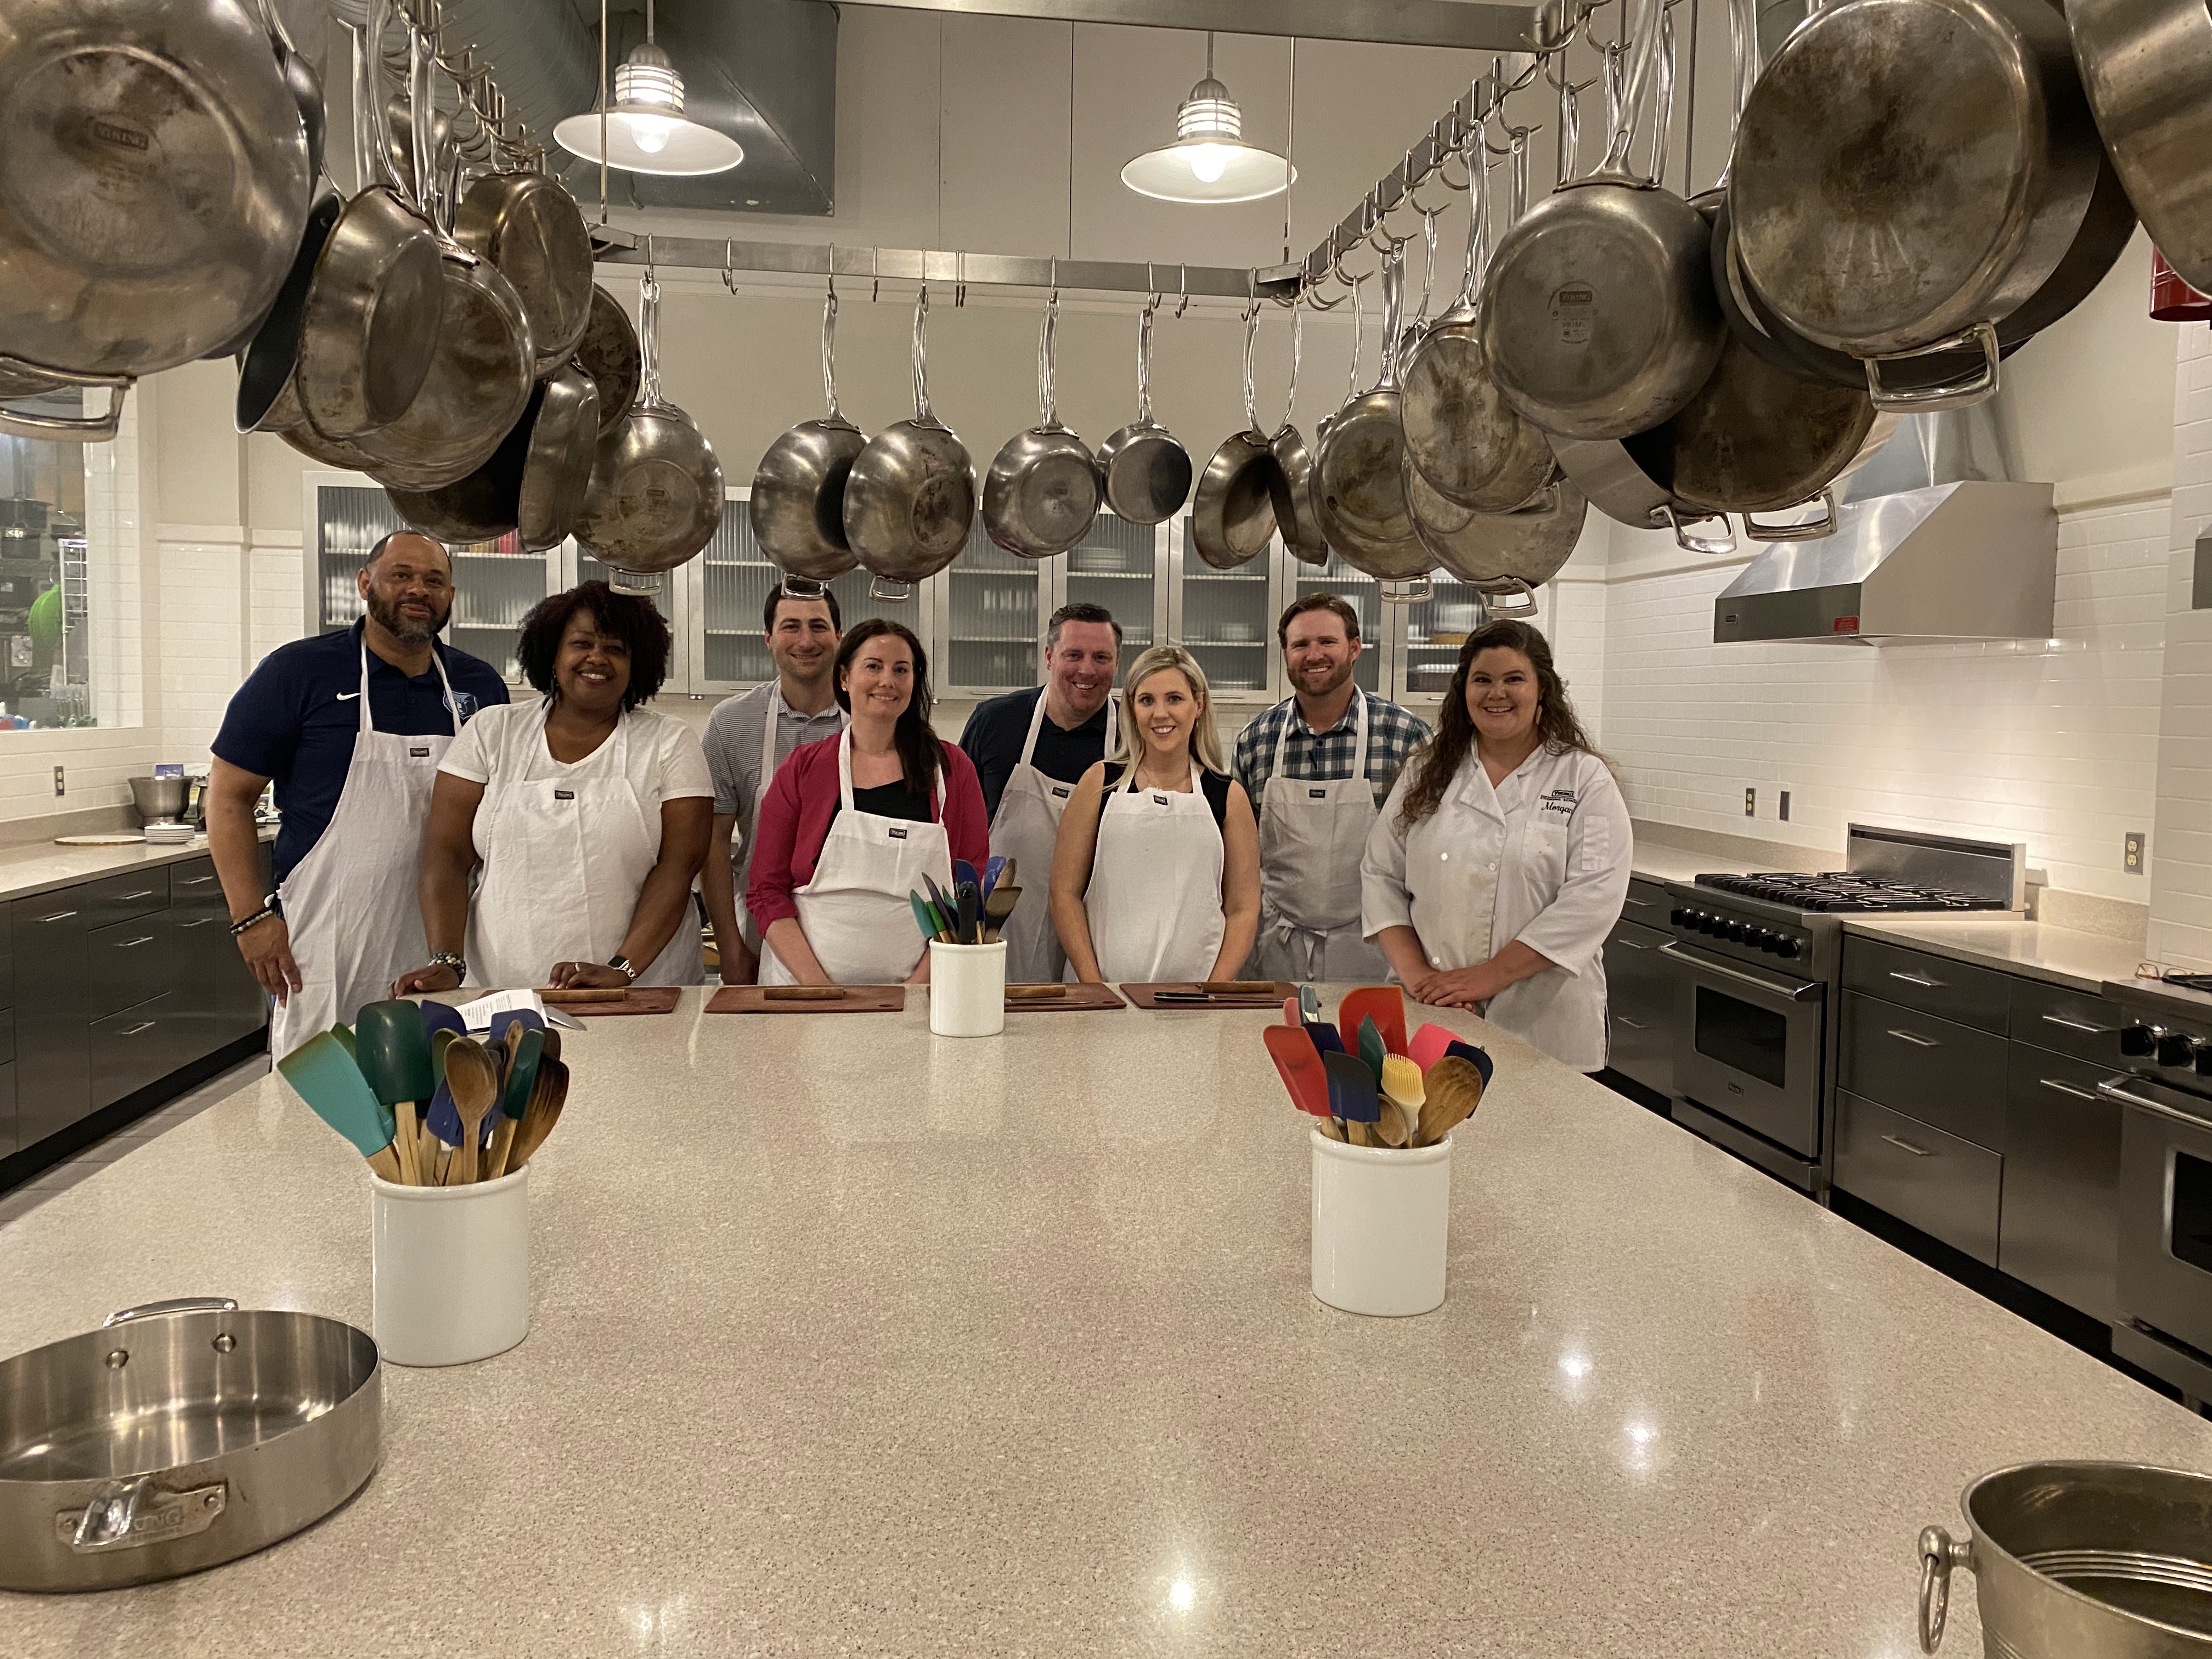
We all took a group picture at the end to celebrate our time together. It was such a good time, that I can't wait to go back one day. It's a great gift for someone who enjoys food or cooking, or just an experience. 

Would you take one of their cooking classes?


SHARE:
10 comments

Easy Zucchini Taco Boats

15 comments

There is something that happens in your thirties that I was told so many times about but never really believed to be true... it really does matter what you eat! To keep my meals filling but light, I have been really enjoying zucchini taco boats. Who knew that tacos would actually be delicious in a vegetable boat made of zucchini. 


Here are a few of the main ingredients. These boats are perfect for summer because zucchini is always affordable either at a grocery store or farmers market. 


First thing is first ... halve the zucchini. 


Next, I take a spoon and scoop out the innards and toss them. 


Once the zucchinis are halved and scooped, lay them on a sprayed oiled baking sheet lined with foil. I like to pre-bake the zucchini for about 15-20 minutes on 350 degrees F. 


While the zucchini is pre-baking, now is the time to cook the ground beef. I'm sure it's much better to make your own taco seasoning, but for the sake of time after a long day of work, I don't mind using a pre-made seasoning. 


Once the ground beef has been cooked and seasoned, I like to let it cool a bit and add it to the pre-baked zucchini boats. 


Next, add some cheese to the top of the taco ground beef and let it bake again for about 10-15 min at 350 degrees F. 


Once everything is cooked together, I like to top the taco zucchini boats with a reduced-fat sour cream, salsa, more cheese, sliced avocado, jalapenos ... whatever you like on a taco!   


Enjoy!

SHARE:
15 comments

30 Minute Meal: Cauliflower Taco Bowl

18 comments

After a long day of work the last thing I want to do is spend all night in the kitchen cooking dinner. But, I also don't want to (& can't afford to) eat out every night. So, I found the best of both worlds with this SUPER quick and easy cauliflower taco bowl. 

The best part is? I didn't spend any time having to MAKE the cauliflower rice except throw the freezer bag into the microwave.  


A friend of mine had been raving about how good this riced cauliflower was that she bought in the freezer section. Because I've tried to make cauliflower rice once and it was a complete disaster, I thought this might be a better alternative. 

And it was! 


It takes about five minutes in the microwave and it makes a really good size portion. There's about 45 calories per serving and a total about three servings. It's low in fat, sugar, and carbs so it's also diet friendly. 


I topped the microwaved riced cauliflower with some cooked ground beef that I had added taco seasoning too. I like to cook ground beef or ground turkey in bulk in the beginning of the week that way I can season it and use it any way that I want throughout the week. Great for meal planning when it comes to dieting and budgeting! 


Next, I sauteed some onion and peppers. I love getting the veggies from Chipotle on my salads so I thought why not make my own for my cauliflower bowl.


Now here's the part that makes this QUICK. 

I added a bit of shredded cheese on top. 


Then added some jarred salsa. 

Because, I didn't have time to make some, and, honestly, I didn't want to. A little pace salsa on top was DELISH.


The last step was to add a bit of guacamole on top to TOP it off! 

This meal took me about 30 minutes to make because I was cooking the ground beef and sauteing the peppers, and honestly, I took my time by watching videos on YouTube. If you already had the meat cooked, this would take less than 20 minutes, EASILY! 

Share your quick meal ideas with me in the comments!
SHARE:
18 comments

Easy Balsamic Vinaigrette Recipe (3-ingredients!)

6 comments
It's spring which means summer is around the corner, which means I am eating a lot of salads to get my summer body ready. (aka, so my thighs don't rub together all summer long) 

One of my favorite foods is a salad. It's may sound sad, but it's mostly because of this quick, 3-ingredient balsamic vinaigrette dressing that I make ALL the time. I've tried fancier recipes, but this is my favorite go-to because it's always the most consistent. 


Easy Balsamic Vinaigrette Recipe (3-ingredients!)

Here are my cast of characters... I love using the Alessi balsamic because there is no caramel coloring. Go check out your ingredients balsamic vinegar and if it has the caramel coloring, toss it! 

Easy Balsamic Vinaigrette Recipe (3-ingredients!)

The golden rule for a balsamic vinaigrette is a 2-1 ratio. 1/2 cup of olive oil to 1/4 cup of balsamic vinegar. Because I like things a little tangy, sometimes I might add more than just 1/4 cup of vinegar. 

 Easy Balsamic Vinaigrette Recipe (3-ingredients!)

I also love using mason jars for dressings. Not because of it being a Southern thing, but mostly because it's so easy to make dressings in and then toss in the fridge, or re-shake again later. 

Easy Balsamic Vinaigrette Recipe (3-ingredients!)

Then I add about a tablespoon of whole grain garlic mustard that I pick up from Kroger. It's a much easier step than adding dijon, garlic, etc in different steps. 

Easy Balsamic Vinaigrette Recipe (3-ingredients!)

The last step is to add some black pepper. I do not add salt to this vinaigrette because to me it doesn't need it, and I also like to salt my greens before I add any sort of dressing to them. Just a shake or two or three of black pepper is all it needs. 

Easy Balsamic Vinaigrette Recipe (3-ingredients!)

Add the lid and give it a really good shake, and then you have a balsamic vinaigrette! 

Easy Balsamic Vinaigrette Recipe (3-ingredients!)

Then add the balsamic vinaigrette to any pretty salad and ta-dah!


Easy Balsamic Vinaigrette Recipe (3-ingredients!)

Easy Balsamic Vinaigrette Recipe (3-ingredients!)

  • 1/2 cup olive oil
  • 1/4 cup balsamic vinegar
  • 1 tablespoon whole grain garlic mustard
  • Black pepper to taste
Combine the olive oil, balsamic vinegar,  whole grain garlic mustard, and black pepper together in a mason jar with a lid. Place lid on the jar and shake until combined. Enjoy on a salad! 
SHARE:
6 comments

Foil Pack Fiesta Chicken Dinner

11 comments
recipe, chicken, foil pack dinner


This is one of the EASIEST dinners you can pre-make and throw in the oven when you're ready. 


I've been making this Taco Chicken Foil Wrap recipe since college. 

That's over 10 years of loving this recipe.

It also takes very few ingredients, which is great for your budget.


Cut up a couple of red potatoes. I like to do around two small/medium potatoes per foil pouch.


Try to slice them as evenly as possible.

I don't have a mandolin slicer but it would make it even quicker!


I use chicken tender strips, but I've also used chicken breasts. It's mostly whatever I have on hand, or whatever is on sale. Top the chickn of your choice with salt & pepper and taco seasonsing. 


Next, top with salsa of your choice. I used a jarred salsa because it was easy. 


Ah, the easiest dinner in the world. 


Top wth cheese and then wrap up in foil. 

I couldn't show you how I wrapped it because, well, I only have two hands and couldn't snap and wrap. 


After it's baked, you unwrap, add to plate, add extra cheese if you want, and top with sour cream! 

It really couldn't be easier. 


Foil Pack Fiesta Chicken Dinner
Ingredients:

4 teaspoons taco seasoning mix
2 cups potatoes, thinly sliced and peeled
1 cup shredded cheese
1⁄2 cup salsa
1⁄4 cup sour cream

Directions:

Preheat oven to 400 degrees.

Using four large sheets of aluminum foil; place 1/2 cup of potatoes on center of each sheet.

Layer one chicken breasts (or three chicken tenders) on top of each foil sheet with potatoes

Sprinkle taco seasoning mix evenly over chicken

Next, layer 2 tablespoons of salsa and on 1/4 cup of cheese on top of chicken

Bring up sides of foil. Double fold top and ends to seal each packet, leaving room for heat to circulate inside.
.
Bake for approximately 35 minutes or until chicken is cooked through. Remove the packets from oven and let stand for 5 minutes. Be careful once opening as steam will be hot.

Top with any additional cheese and sour cream!


SHARE:
11 comments
Previous PostOlder Posts Home
BLOG TEMPLATE CREATED BY pipdig